This is one of my favorite new lessons that I have added to my Iditarod interdisciplinary unit. Programming and coding are two skills that have become much more prevalent in the world of education, and students’ skills with technology are beginning at earlier stages in their development. Adding coding as a part of our unit is a great way to integrate these skills into the study of the Iditarod.

For those of you not familiar with an Ozobot, it is a small smart-line following robot. There are two different options available to have the Ozobot read codes. One is a program called OzoBlockly where you use a device to enter the codes for the robot to follow. The second option is the one I prefer to use in the classroom, and involves simply using a black sharpie and markers! There are many other amazing ways to integrate these bots into a variety of other subjects, check out more about them here: https://ozobot.com/
The purpose of this project is to get students more familiar with the trail itself; the checkpoints, the terrain, and the landmarks.

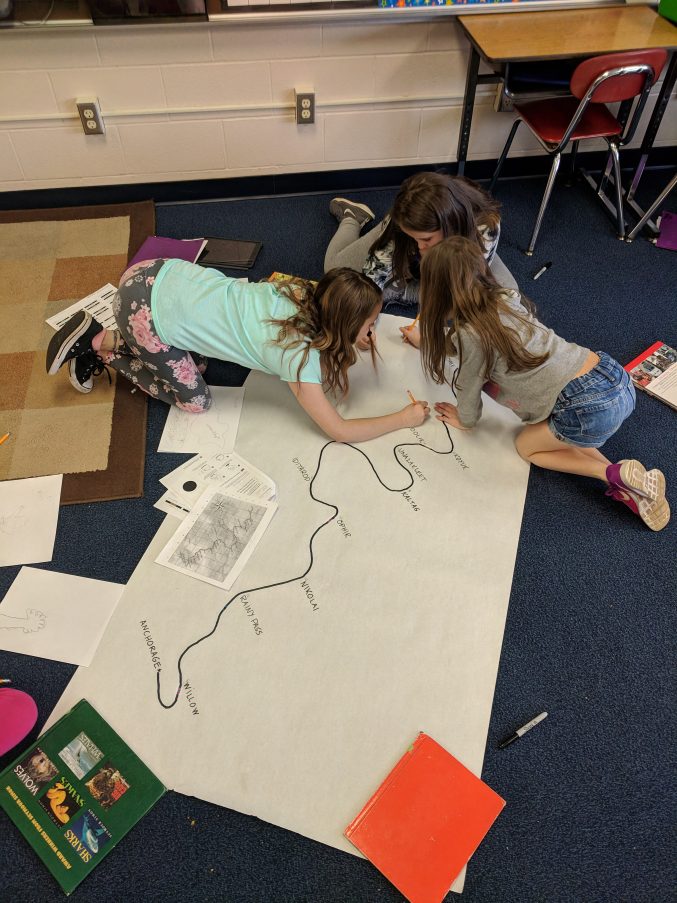
Planning their drawings. Photo from 2019.
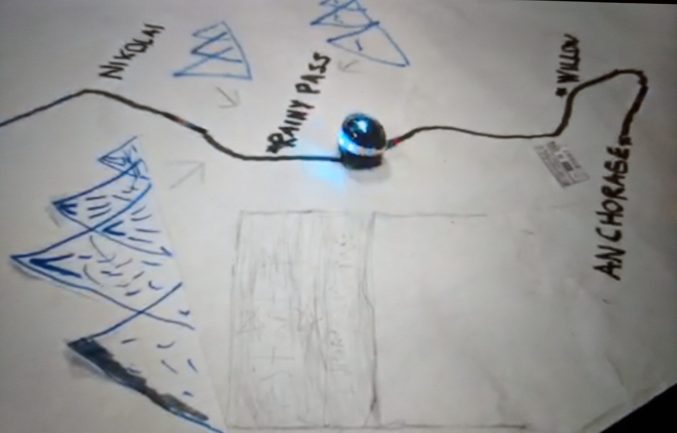
Students are divided into groups of 3-4 and their first task is to use the Iditarod website to research the course and its various checkpoints. They do this by either using the checkpoints tab or the map tab and clicking on the routes from one checkpoint to the next. Both provide excellent insights for students to learn more about the trail. After learning about the trail and its features, groups discuss and decide on actions that their bot should perform in order to represent the terrain in each area. Examples of the codes could be slow going up a mountain (near Rainy Pass), pause 3 seconds (for an 8 or 24 hour layover) or zig-zag as they slide along a frozen river. The number of codes may vary upon grade level and ability, but students always get creative in their coding designs!
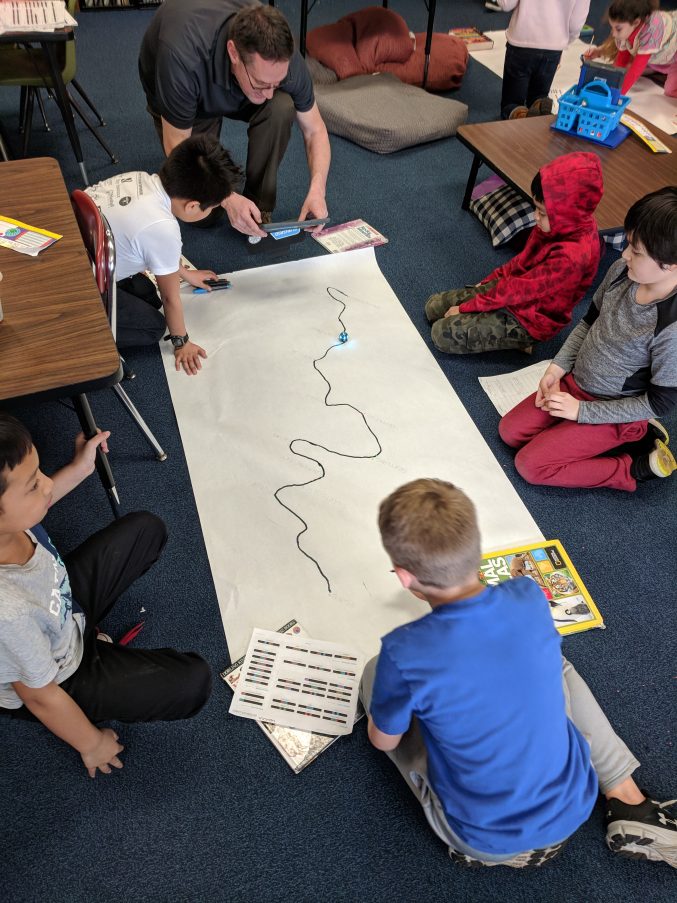
Then comes the fun part, where students draw the codes on the map, connect them with a solid black line and then test it out!

One group testing their codes. Photo from 2019.
The final part of this activity is optional, but makes for a much more polished final product. Groups can record their bot on the path with iMovie (or a similar program) and then read their information from a script describing the codes and rationale for each throughout the course. I have also had students add background information about the checkpoints as the bot passed by, and even some groups who took an entirely different approach and pretended they were play-by-play announcers for the bot/musher on the trail. Music can also be dubbed into the background, and students can add beginning and ending text for added effect.
Teachers have many options to adapt this project to their desired outcomes and goals for their students. Below you will find links to some examples of final products from some of my former students. I am aware that some of the information stated in the videos are not 100% factual, which was taken into account when grading. (Disclaimer: some of the camerawork is a little shaky… we are working with 3rd graders, not Steven Spielberg here).
https://drive.google.com/file/d/1EZ798foOHTDq5Nj85z266A2oOvnVSqLg/view?usp=sharing
https://drive.google.com/file/d/1bUyXmFmPNv9U3qC57q5ZQPIa_FLXVE4n/view?usp=sharing
https://drive.google.com/file/d/1rrOQGrXLoq0YR-0lrTva-y2tedmC1gBG/view?usp=sharing
Full Lesson Plan Here: Ozobots Lesson Plan


